A custom wedding set arrives in a small box, but it has traveled through a remarkable process before it gets there. Understanding that journey helps you appreciate what you are paying for, and it makes the wait feel meaningful rather than open-ended. Here is the step-by-step path your ring takes from a sketch on paper to a finished set on your finger.
Step 1: Design Consultation
Everything starts with a conversation. We discuss the center stone, the band style, metal choice, budget and how you picture the ring feeling. You bring inspiration photos; we translate them into a concrete design. This stage establishes width, profile, setting style and the relationship between the engagement ring and wedding band.
Step 2: CAD Design and 3D Rendering
Next, a jewelry designer builds the ring in CAD software. You receive realistic 3D renders from every angle — the top, the profile, the side detail. This is the revision stage: adjust the band, change the setting, tweak the milgrain. Once you approve the render, the design is locked. For more on this stage, see our guide to the custom design process.
Step 3: 3D Printed Wax Pattern
The approved CAD file is printed as a wax model. This physical pattern lets you (or us) check proportions in hand before any metal exists. It is a critical quality checkpoint — a detail that looks wrong in wax is corrected now, for free, rather than after casting.
Step 4: Casting the Metal
The wax pattern is investment-cast: encased in plaster, burned out, then filled with molten gold or platinum. This is the moment your design becomes real metal. The cast ring is cleaned, trimmed and inspected for flaws before any stone is set.
Step 5: Stone Setting and Finishing
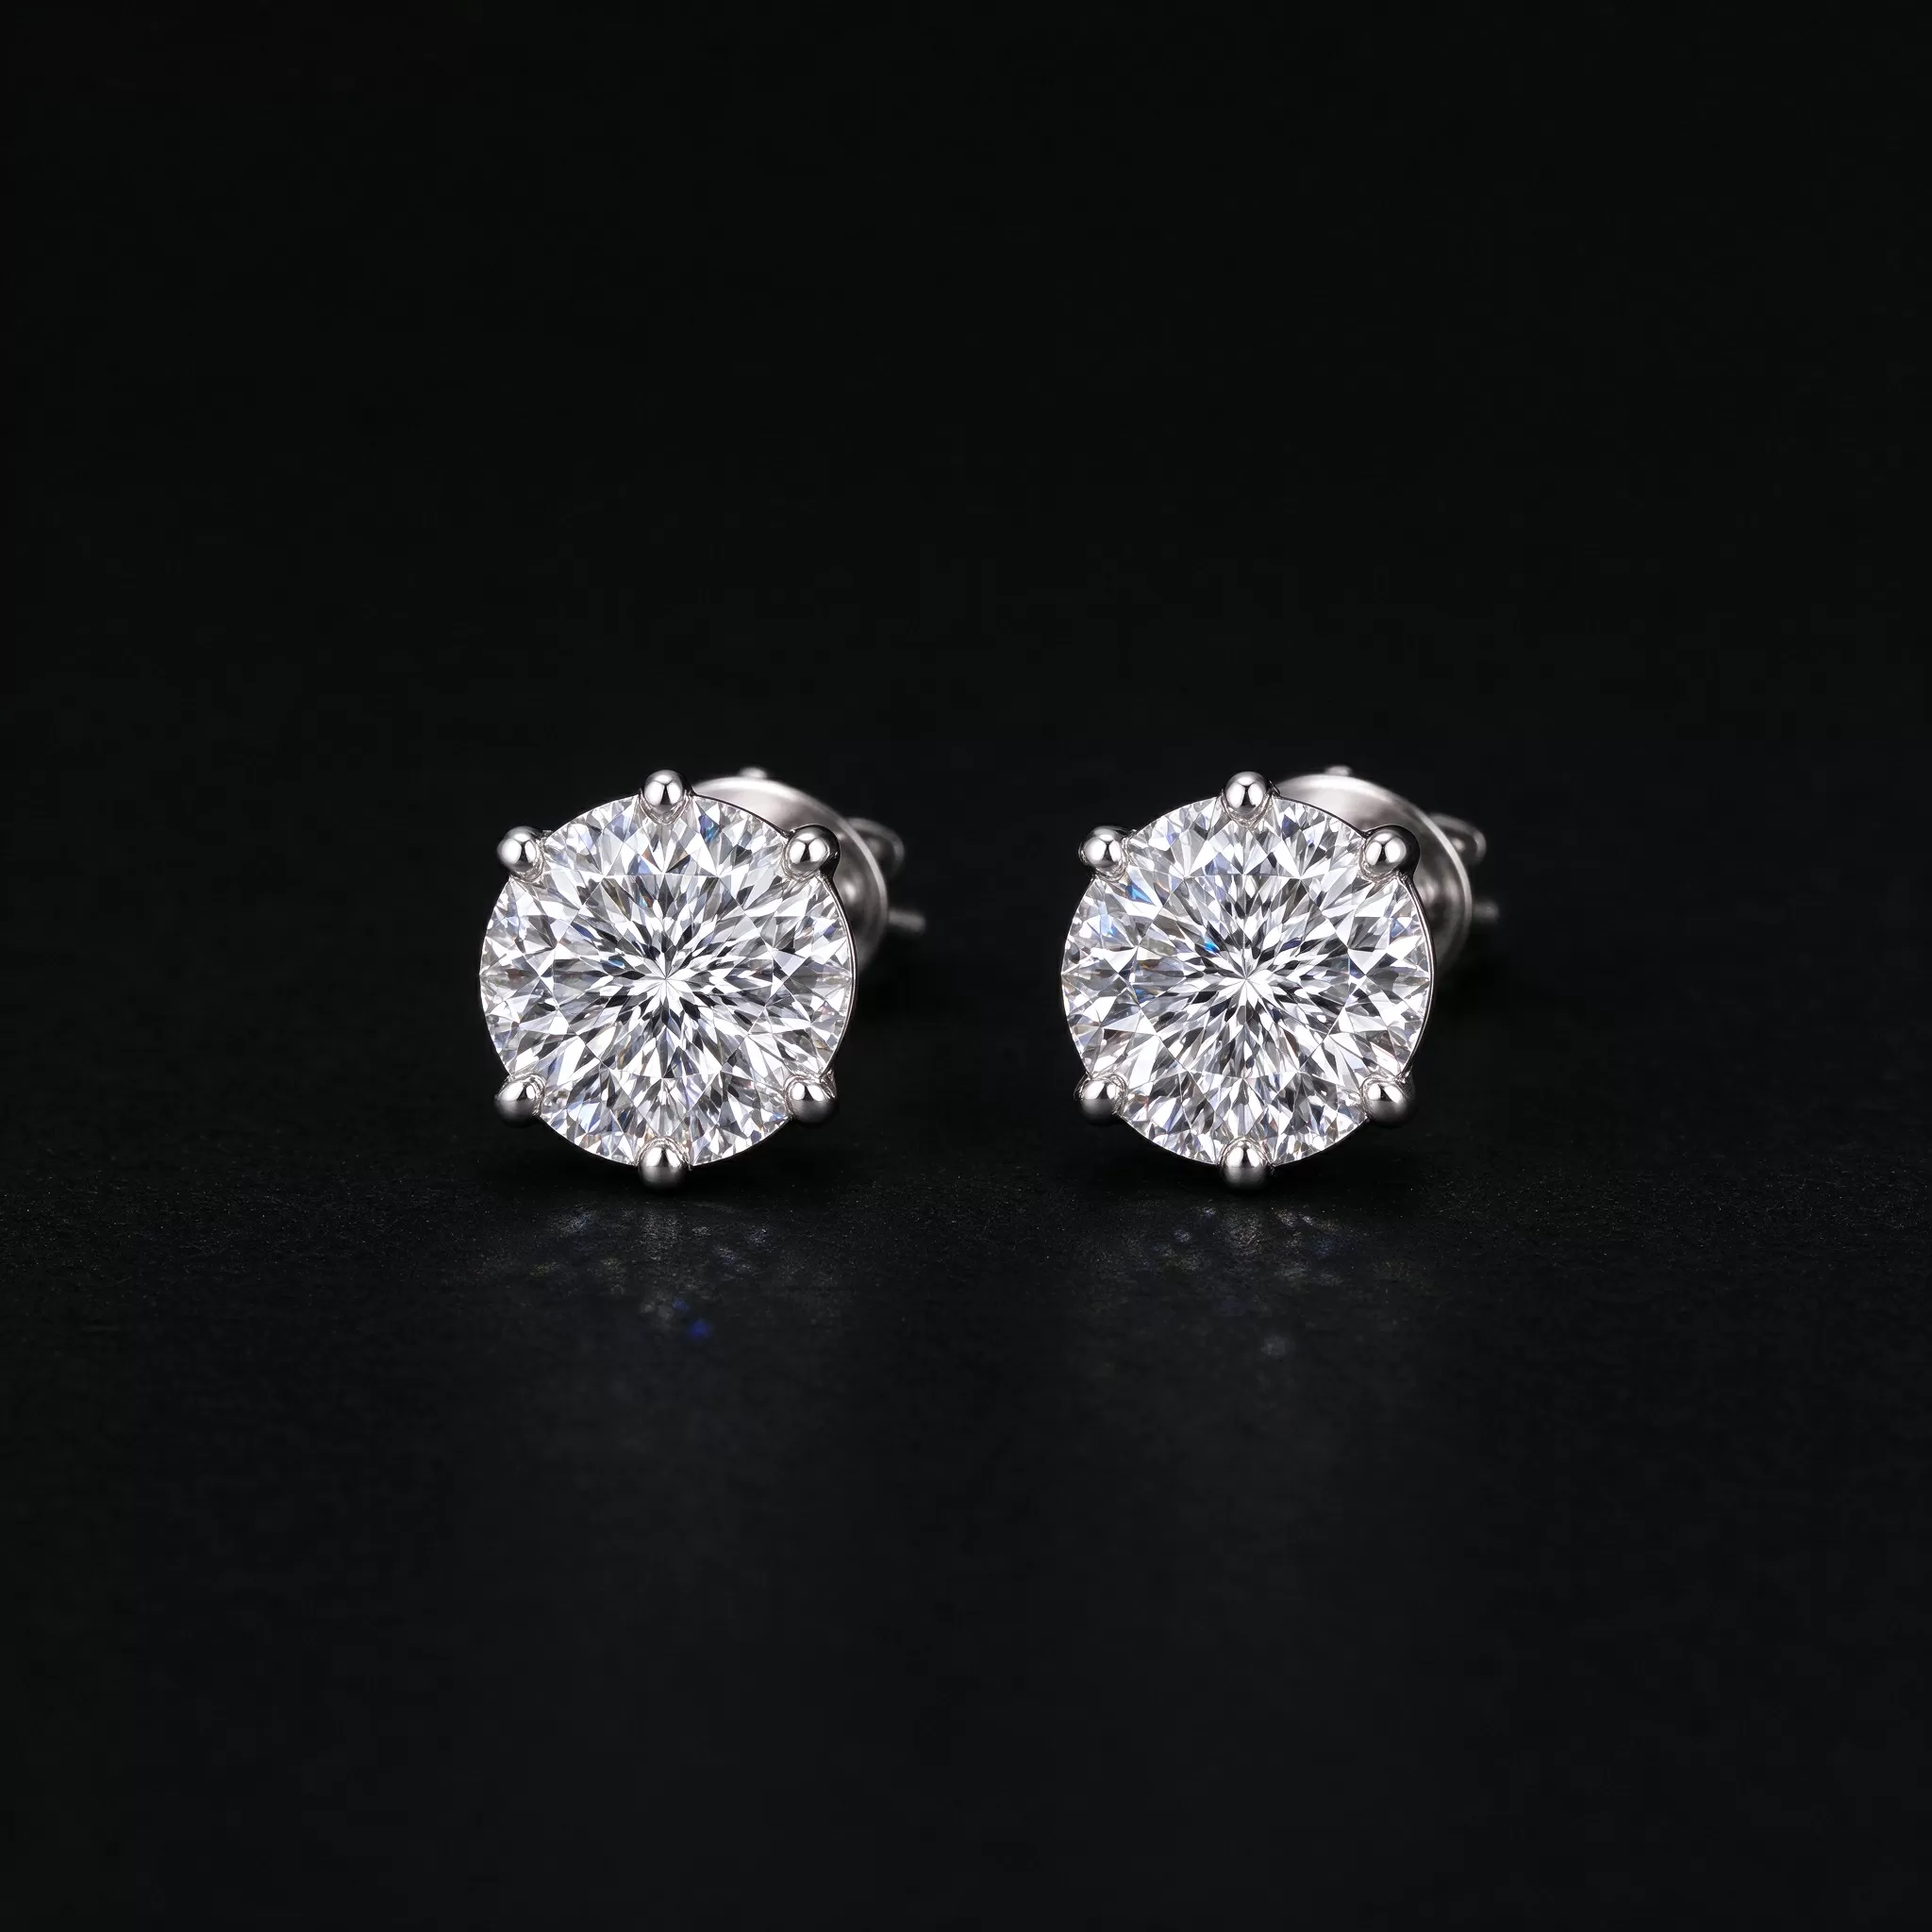
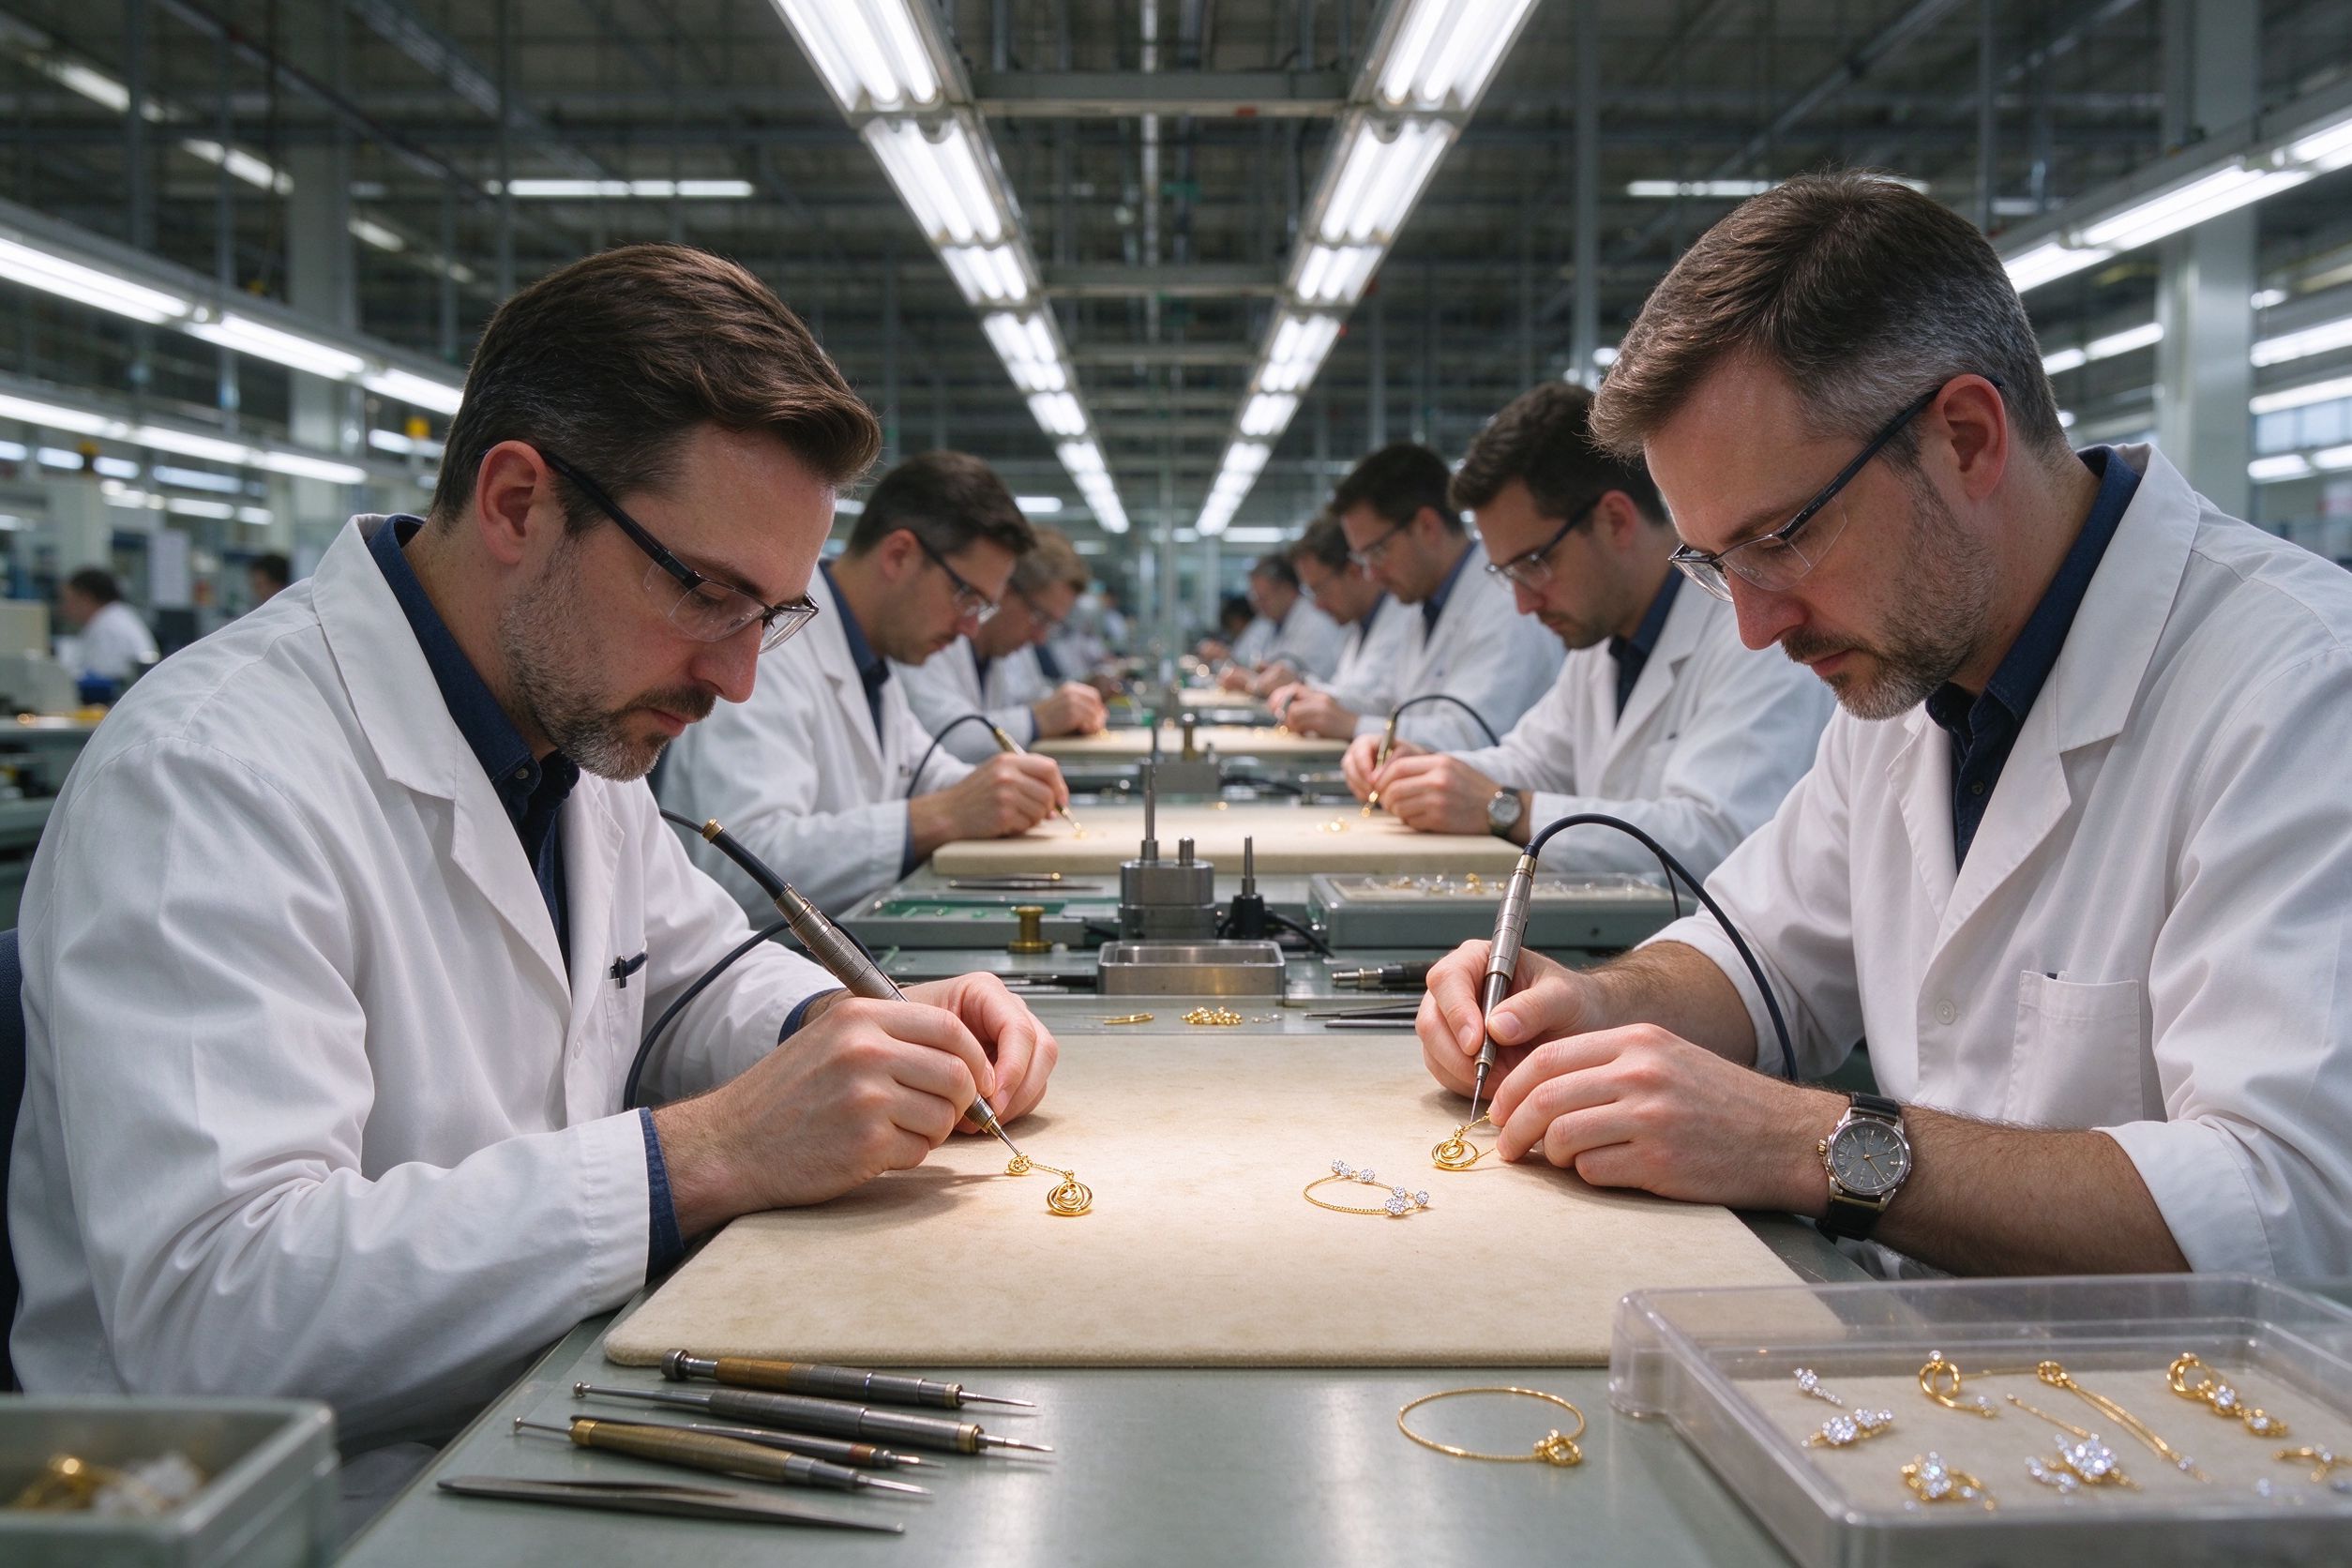
The center stone and any accent stones are hand-set by a jeweler. Prongs are shaped around each stone, then the whole ring is polished, finished and (for white gold) rhodium plated. The wedding band is made to nest precisely against the engagement ring so the two sit flush.
Step 6: Final Inspection and Sizing
Every ring passes a quality control inspection: stones tight, prongs smooth, finish even, size correct. The set is sized to your finger, polished one last time, and packed. For wholesale and brand clients, our QC process applies the same inspection to every custom piece. We build custom sets for brands through our OEM program and for individual customers directly — see our collections and start a conversation.
Frequently Asked Questions
Can I see the ring before it is cast? Yes — the CAD render and wax model are both checkpoints you approve.
How many people touch my ring? A designer, caster, setter and polisher typically each contribute a specialized step.
Is hand-made better than cast? Modern casting with hand finishing combines precision with craftsmanship; both matter.
What if I want a small change at the end? Minor tweaks like sizing or polish are easy; structural changes mean re-casting.
Quality Checks at Every Stage
A bespoke set is inspected at each step, not just at the end. After casting, we check the metal for cracks or porosity. After setting, we verify that every stone is secure and that no prong edge is sharp. After polishing, we confirm the finish is even and the size is correct. This staged inspection means a problem caught in wax never reaches metal, and a loose stone never ships. It is the reason custom work from an experienced bench is reliable rather than risky. When you understand that each ring passes through multiple careful hands, the wait feels less like a black box and more like a process built to protect something that matters.
The CAD Stage: Why It Matters More Than It Looks
The CAD stage is the unsung hero of custom jewelry. A designer builds the ring as a precise 3D model, and you see realistic renders from every angle before any metal exists. This is where proportions are checked, where the band width is confirmed, where the setting is refined. Because changing a CAD file costs almost nothing, this is the moment to be demanding. Ask for the ring on a finger-sized render. Ask for the band beside your engagement ring. Ask to see the finish in polished and brushed. Every question answered now prevents an expensive correction later.
For couples, the CAD render is also emotional: it turns an idea into something you can hold on screen. Many people describe approving the render as the moment the ring stops being a daydream and becomes real. Use this stage to compare options side by side — a slim band versus a slightly wider one, a polished versus a satin finish. The cost of asking is low, and the clarity you gain is high. By the time you approve, you should be able to picture the ring on your hand with total confidence.
The Final Polish and Why Hand Finishing Matters
Casting and setting give a ring its shape, but the final polish is what makes it feel luxurious. A machine buff is fast but uniform; a hand-finished ring is checked under magnification, with prongs smoothed so they never catch on fabric and surfaces brought to an even luster. This step is where a good ring becomes one that feels finished. Cheap jewelry skips hand finishing, which is why its edges feel rough and its prongs snag. When you commission a custom set, ask how the final finishing is done — the answer tells you a lot about the workshop. Our finishing standards include hand inspection on every piece, and you can see the result in our collections.
Quality Checks at Every Stage
A custom ring is inspected at each step, not just at the end. After casting, we check the metal for cracks or porosity. After setting, we verify every stone is secure and no prong edge is sharp. After polishing, we confirm the finish is even and the size is correct. This staged inspection means a problem caught in wax never reaches metal, and a loose stone never ships. It is the reason custom work from an experienced bench is reliable rather than risky. When you understand that your ring passes through multiple careful hands, the wait feels less like a black box and more like a process built to protect something that matters.